First Aid How-To: Tourniquets
Injuries present to be a major health care issue in Australia. In 2019-20, over 13,400 deaths were due to injury with victims being able to bleed to death in less than 5 minutes. This has cost the health expenditure in Australia to balloon with an estimated $8.9 billion spent and 527,000 hospitalisations.
However, with the right training and knowledge, life-threatening bleeding can be prevented. As a bystander, being equipped on how to control bleeding can save lives. By using tourniquets, survival rates can shoot up from 18% to almost 90% when it comes to controlling bleeding. This has become revolutionary in saving lives. In this article, let’s take a look at what exactly tourniquets are and how you can use them in the case of an emergency.
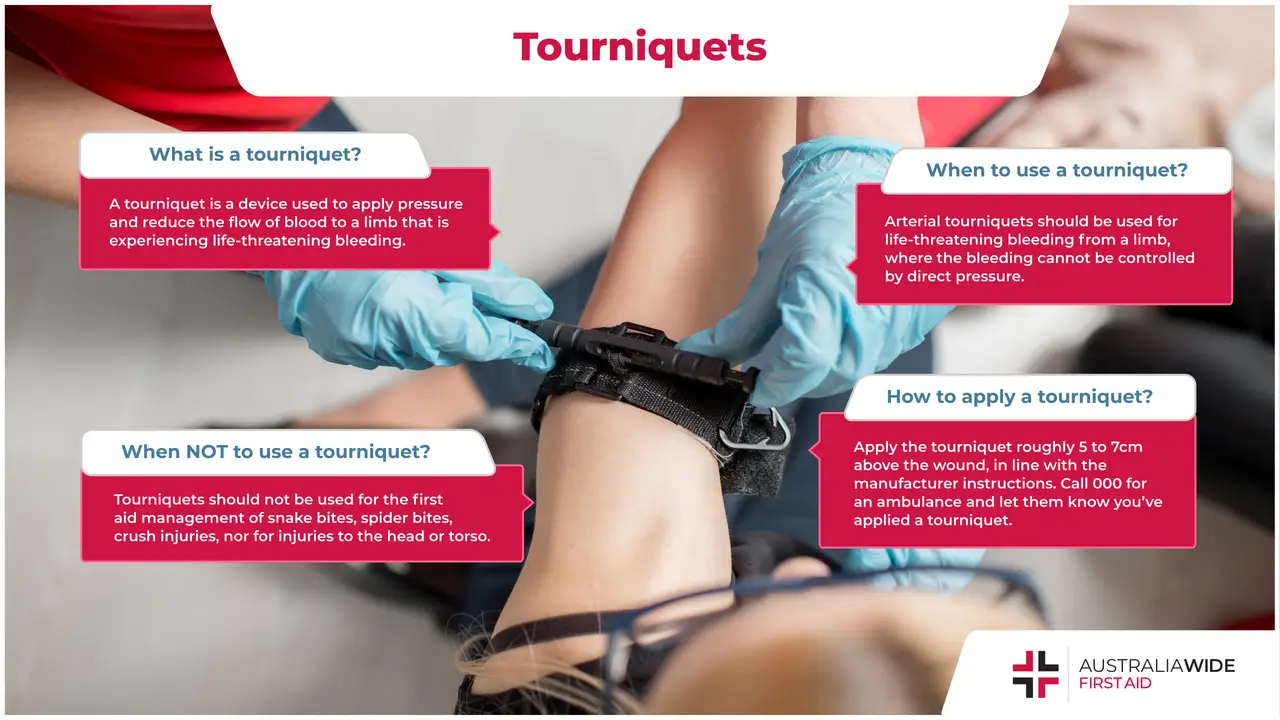
A tourniquet is a device used to apply pressure to a limb in order to reduce or stop the flow of blood. The purpose of the tourniquet is to ensure any life-threatening blood flow is delayed until medical professionals arrive on the scene. The tourniquet applies pressure to the limb which limits the blood flow to the traumatised area. Some side effects from this can include soft tissue damage or nerve damage.
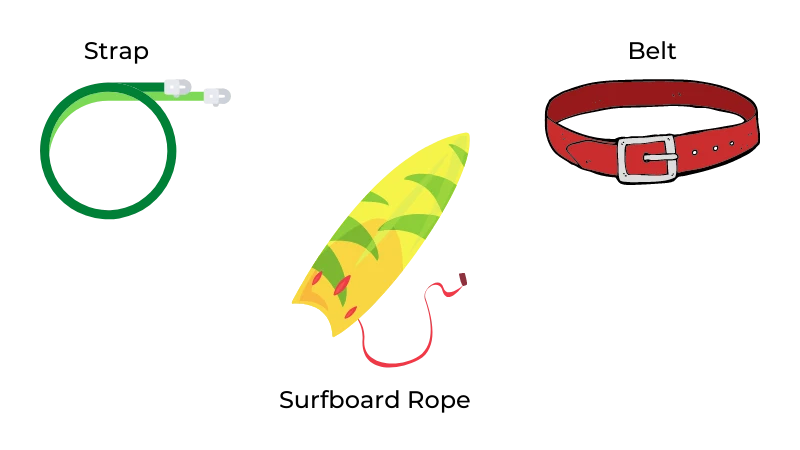
A simple tourniquet can be made from a stick and a rope, however these are not as effective as commercial and professionally make tourniquets. These DIY tourniquets are to be used in the case of emergencies utilising similar materials available at the time. There are even specially designed tourniquets that can be purchased and added to a first aid kit.
Generally, if life-threatening bleeding occurs or if the bleeding is severe, a tourniquet should be used to control the bleeding. However, when bleeding does occur, tourniquets should not be the first action you take as untrained rescuers can easily do more harm than good. Most bleeding can be stopped by attempting targeted direct pressure. With the experience of a trained first aider, using a tourniquet is an excellent way to prevent uncontrollable bleeding and it can be applied to the body for up to 2 hours without any harm.
Bleeding can be considered severe and life-threatening in the following situations:
Examples of situations where you do not need a tourniquet include:
As mentioned earlier, tourniquets are not the only way to prevent life-threatening bleeding. It’s important to follow the basics of wound care in order to reduce the risk of infection before any dressings or blood flow restriction techniques are done.
In following the steps below, you’ll not only prevent bleeding but also ensure long-term recovery goes underway with minimal complications:
If the bleeding is from a limb and cannot be controlled using the aforementioned first aid procedure (direct pressure) apply an arterial tourniquet above the bleeding point.
To apply an arterial tourniquet, you should follow the steps below to ensure minimal injury to the victim and to ensure the bleeding is contained:
In the event there is no access to a commercially manufactured arterial tourniquet, follow the steps below to create a DIY tourniquet in the use of an emergency:
Life-threatening bleeding can be prevented using the right tools and techniques. By utilising a tourniquet, the victim’s survival rate becomes much higher, and this can stall for time while medical professionals are on the way. It’s also important to understand when tourniquets are used so as to prevent any further injuries to the victim. In the case of a DIY tourniquet, making sure you have the appropriate materials is important if your first aid kit does not have a commercially made one.
To learn more about when to use a tourniquet and how to use one, you can attend our First Aid course to equip yourself with the knowledge and skills to keep yourself and your loved ones safe.
October 13, 2023
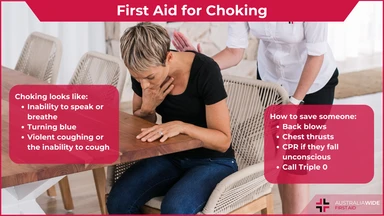
Choking occurs when an object or a piece of food becomes lodged in the throat, blocking the airway. The adult or child will have difficulty breathing, and may lose consciousness. Quick and effective action is essential to prevent severe consequences and death.

September 22, 2023
Knowing how to provide first aid for fluid draining from an ear is crucial to alleviate discomfort and potentially prevent complications.

July 31, 2023
This article covers treatment/first aid for nose bleeds, and also covers all of the common misconceptions and myths about treating a bleeding nose.